Guide: How to sharpen your edges
Words by: Chris
Do you ever find yourself slipping out on patches of ice, or feel like your board gives up on you when you just wanna lay a big old carve on some morning corduroy? If you answered yes to either of these questions you might want to investigate sharpening your edges…
*Note: Some other tuning guides may include a step involving sharpening the base edge of the board, but this only needs to be done after a base grind (maintaining with a stone will suffice as we explain below). For the regular garage tuner, you really only need to focus on sharpening the side edge.
What you need:

Step 1:
Take off your bindings:
This makes it easier to smoothly run the edge tool across the board
Step 2:
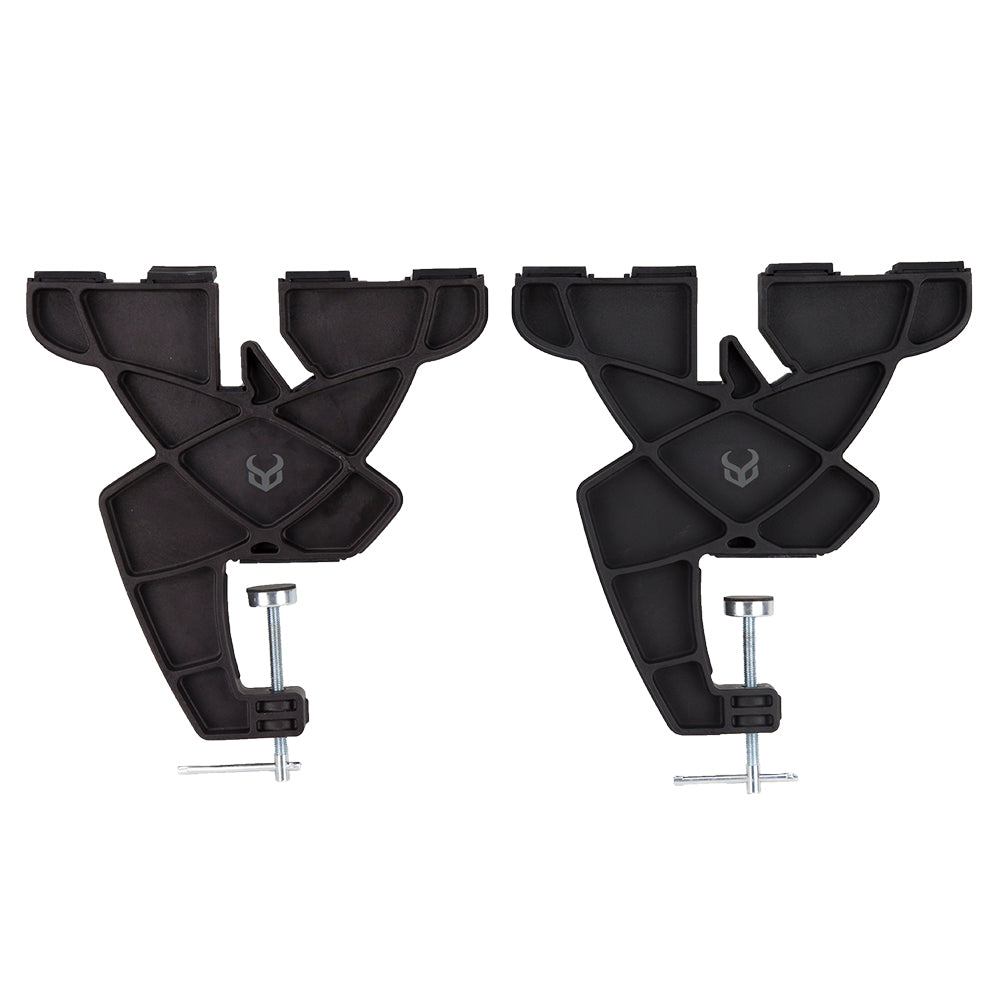
Secure the board:
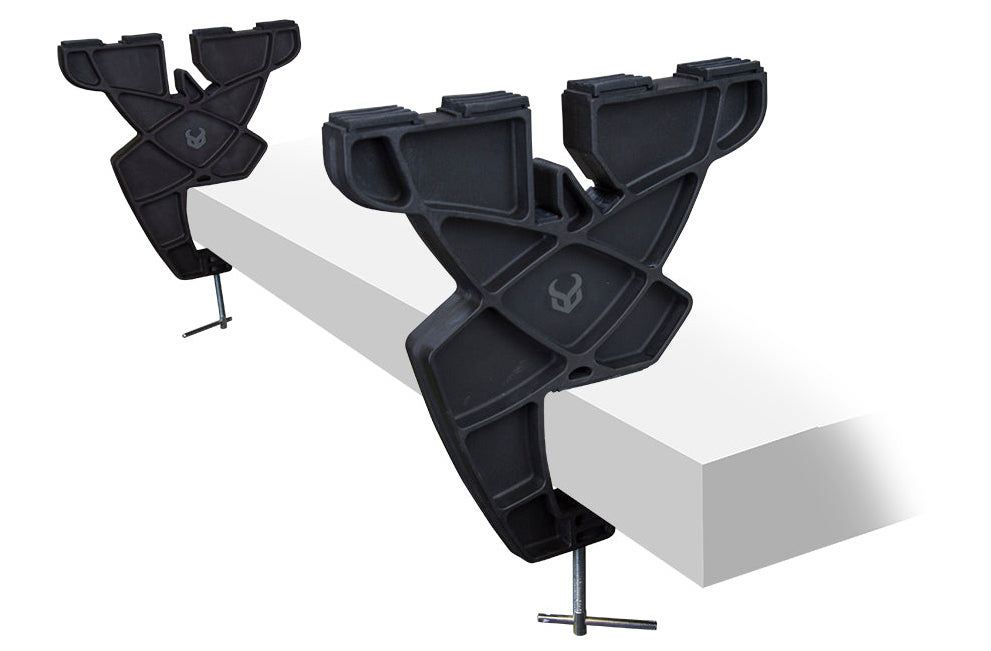
Secure your board vertically within your vise. This allows you to apply the necessary pressure with your file along the edge in order to sharpen it.
Step 3:
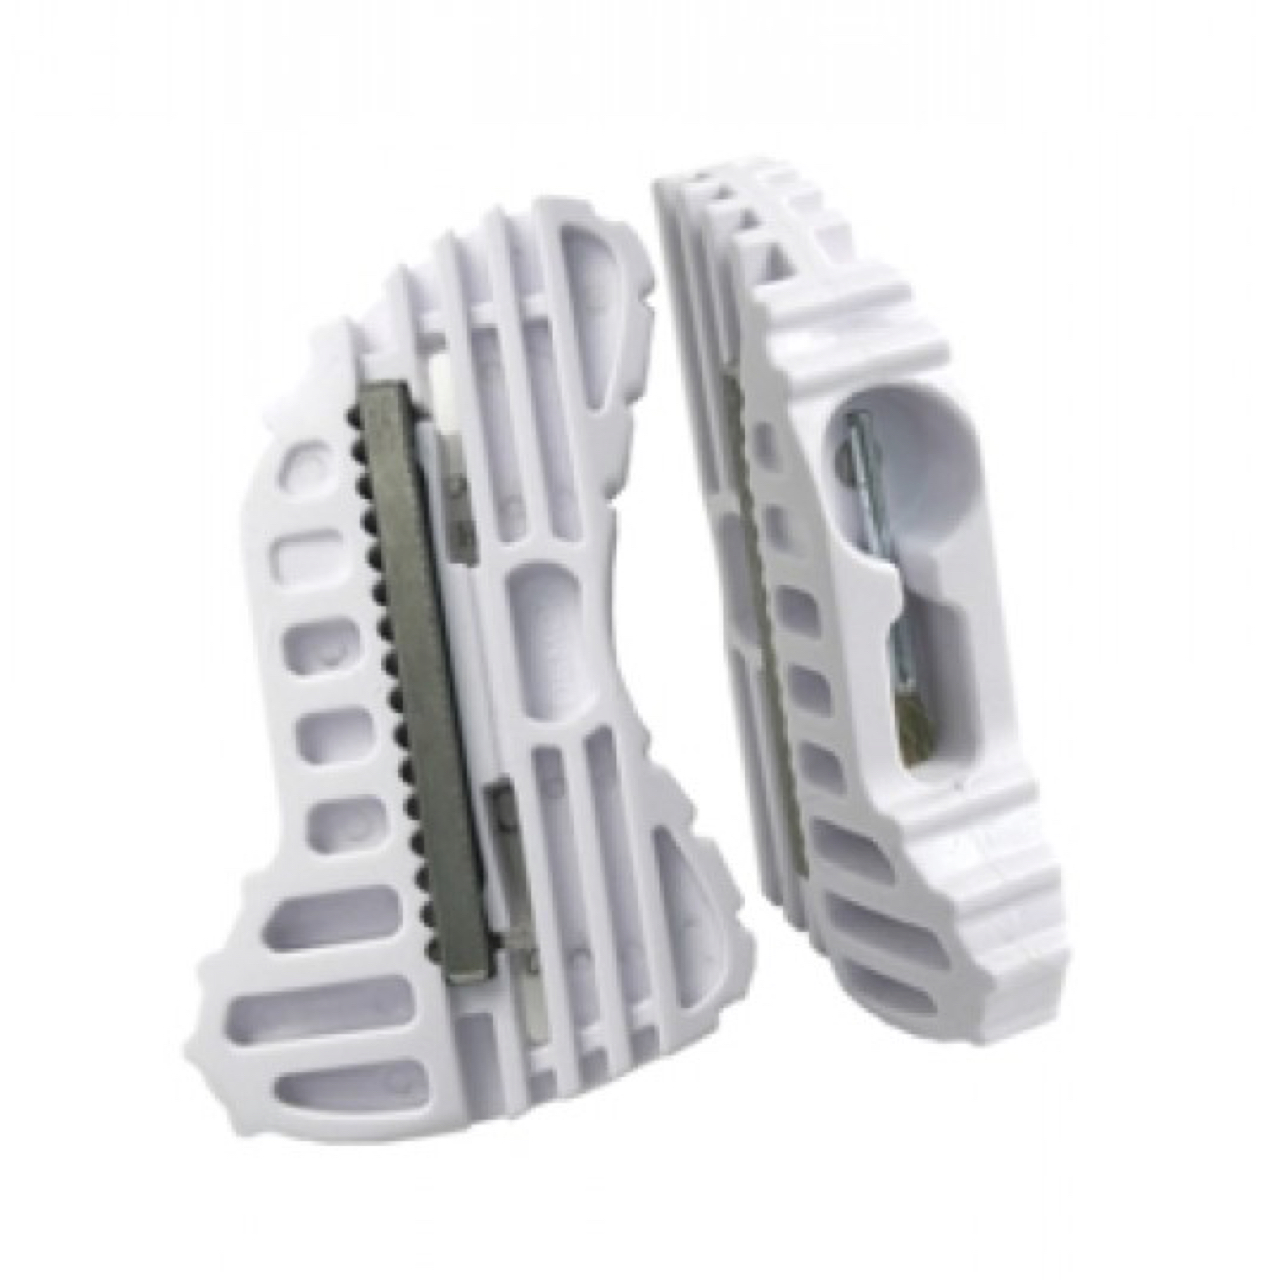
Set your angle:
Set your edge tool to the correct angle. For all-mountain riding, 88° is standard. For racing and/or extreme carving, 87° is a better fit.
The edge angle can be found on the side of the file guide, and you want to position the edge tool with the correct angle facing towards your snowboards' base.
Step 4:
Remove Burrs:
A burr is a raised, hardened section of edge, formed from contact with rocks, rails and other debris, and will damage your file if left untreated..
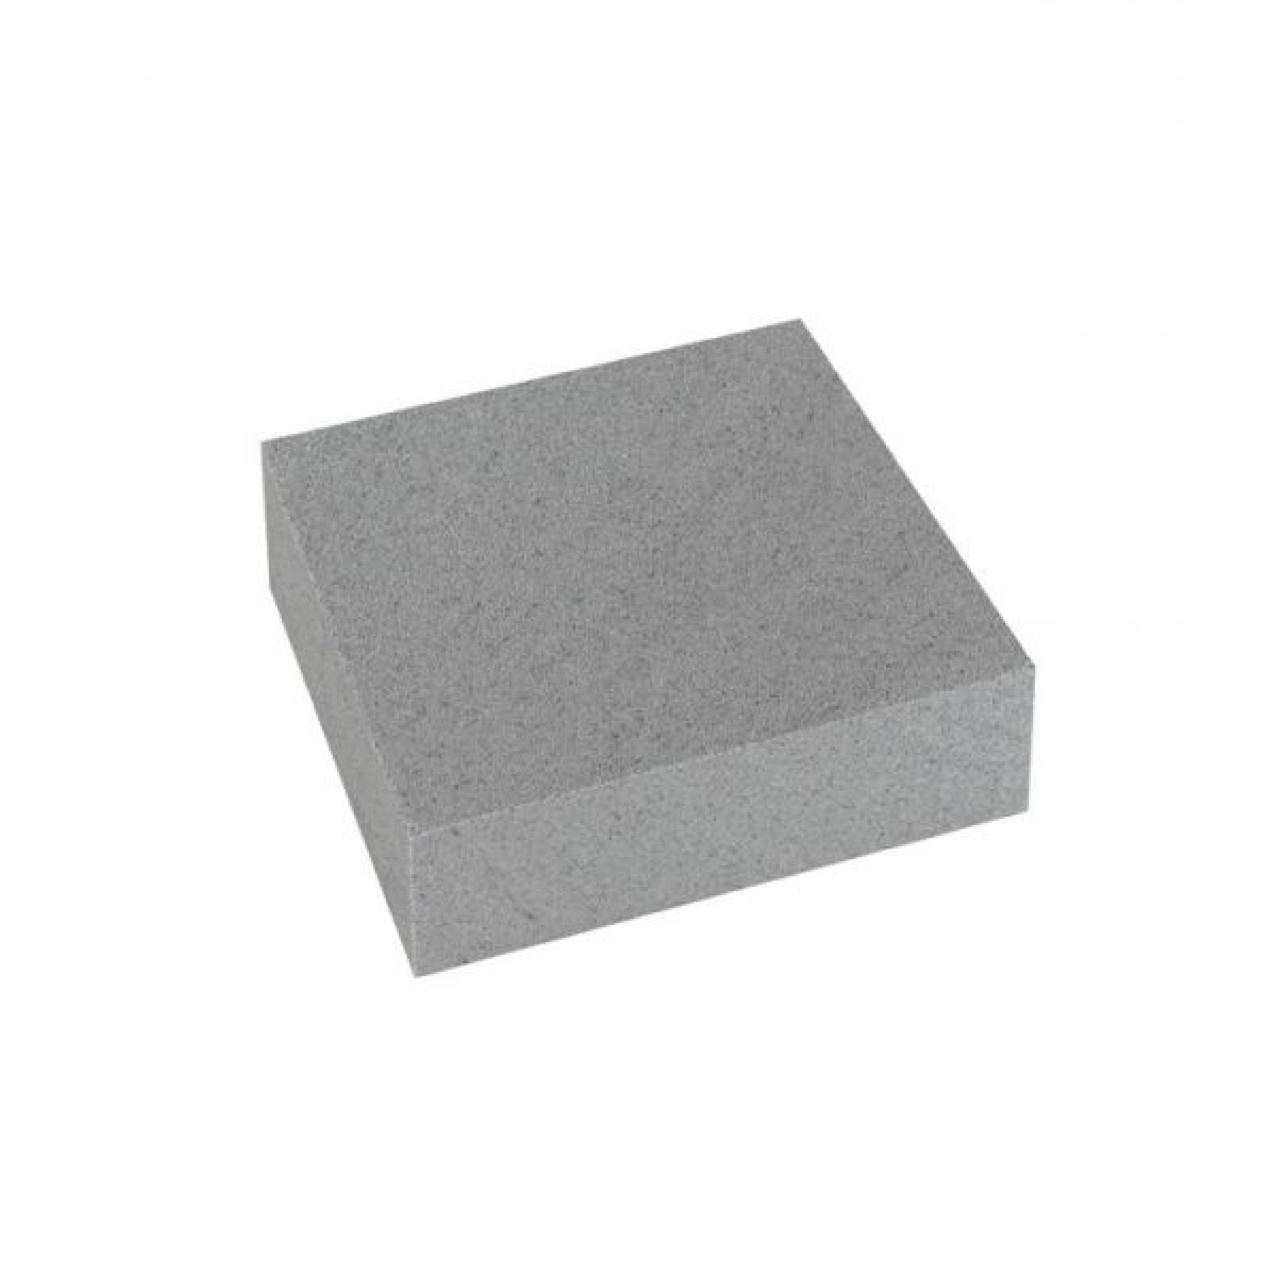
Using a medium grade diamond stone, either by hand, or within your file guide, rub back and forth over the burr to remove. At this stage, you can also use this same technique to remove any burrs present on the base edge.
Tip: Running your finger along each edge will allow you to easily determine the location of any burrs.
Step 5:
Sharpen your side edge:
Position your edge tool as per step 3. Starting an inch or two above the contact point at the nose (the widest point of your board), and moving towards the tail, run your edge tool with firm pressure, in overlapping strokes to remove edge material. Ensure you only pressure your tool in one direction (tip to tail).
It is not necessary to tune the very tip and tail of your board.
Tip: When the entire edge has turned from dull metal to shiny new steel, you have done your job, and your edge angle is now set.
Step 6:
De-tune your contact points:
Once your edge is sharpened it’s good practice to detune (or slightly dull) the area around your contact points. This provides you with easier turn initiation, and helps prevent your board from catching on the snow. We have a full guide on how to de-tune your boards' edges HERE.
Now that your board is racer ready, get up there on all those icy and firms days and make all the other boarders jealous of your magical ability to turn on ice.
Need Supplies?

Our Tuning Kits provide you with everything you need to get started at home.