Guide: How to wax your snowboard
Words by: Chris, Images: Tom
You’ve probably heard of people waxing their boards, or maybe you pay a little (or a lot) of money to get your board serviced by a shop at the start of the season. The truth is, waxing your board isn’t too hard, and should be done at least once a week to keep the thing fresh, and running quick.
Why should I wax?
You'll go faster.
I mean who doesn’t want to go faster, it’s more fun, less effort and most importantly, means you probably won’t stuck on flat cat tracks.
Your board won’t stick to rails.
If you’re into rail riding, you may notice sometimes your base sticks to the box or rail at times. For me, this is the scariest feeling in the world, so I always keep my board greasy to avoid getting caught up.
Your board will last longer!
Taking care of your base means it is less likely to dry out, it can also help prevent little scratches on your base, as it adds a thin layer of protection from the elements. This means your board will ride better, for longer.
What you need:
* You'll also need a snowboard vise (or 2 blocks of wood), to lay the board on and hold it stable.
Step 1:
Grab a Gummi:
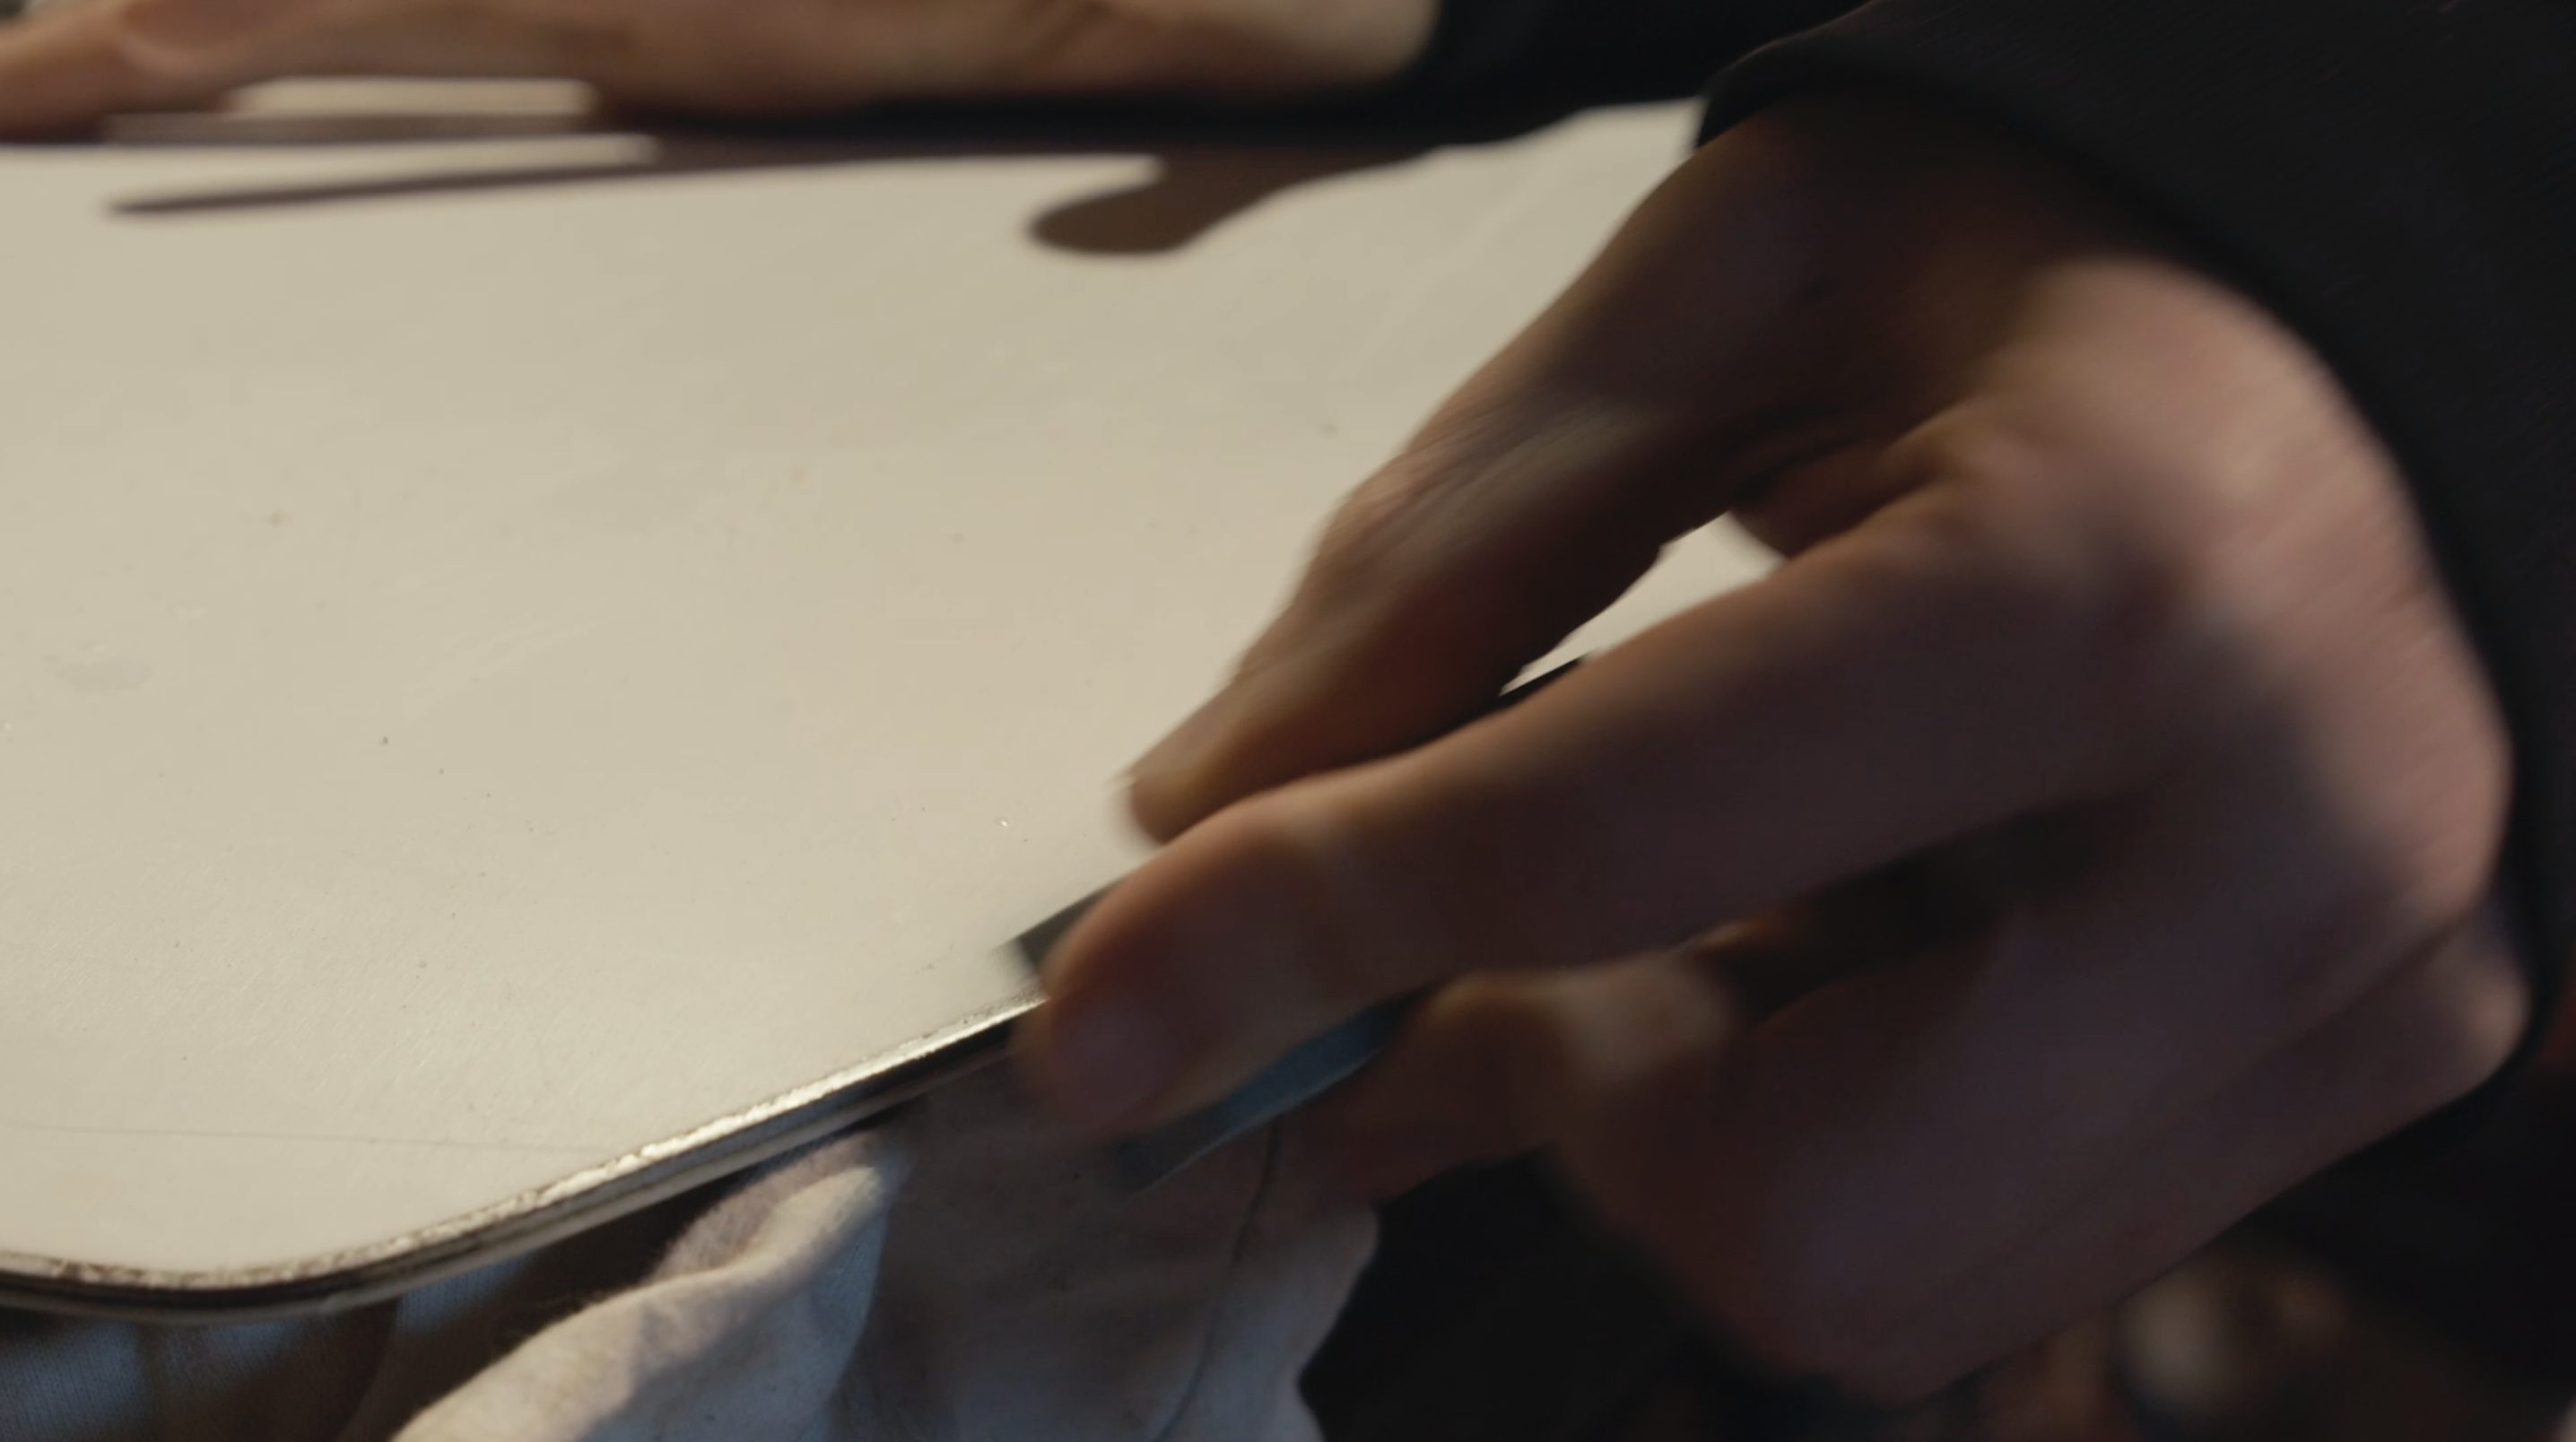
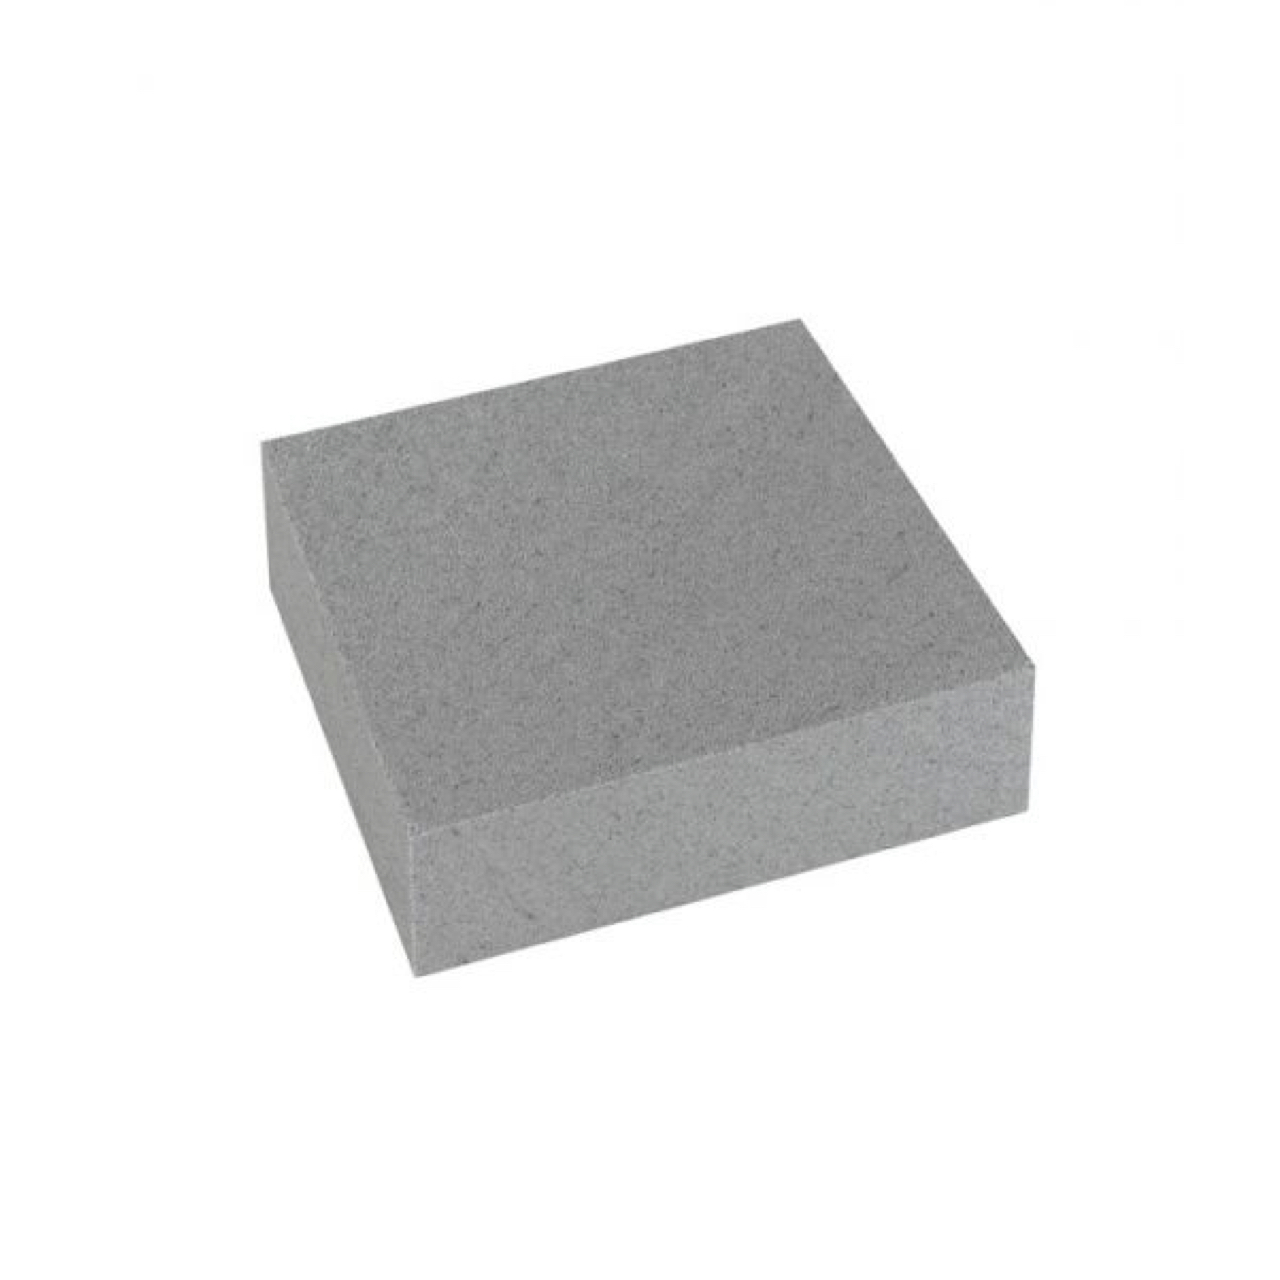
A Gummi Stone is a soft, rubbery block, that easily removes rust from your snowboard edges. It pays to include this step in your waxing routine... Not only will you have cleaner, rust-free edges, you'll have a cleaner base, which means more wax absorbtion, which means more speed ya dig?
It's simple, grab the Gummi, and rub down your edges with moderate pressure from tip to tail on both sides. You'll be amazed at how much rust is removed from about 1 minutes work!
Step 2:
Base Prep:
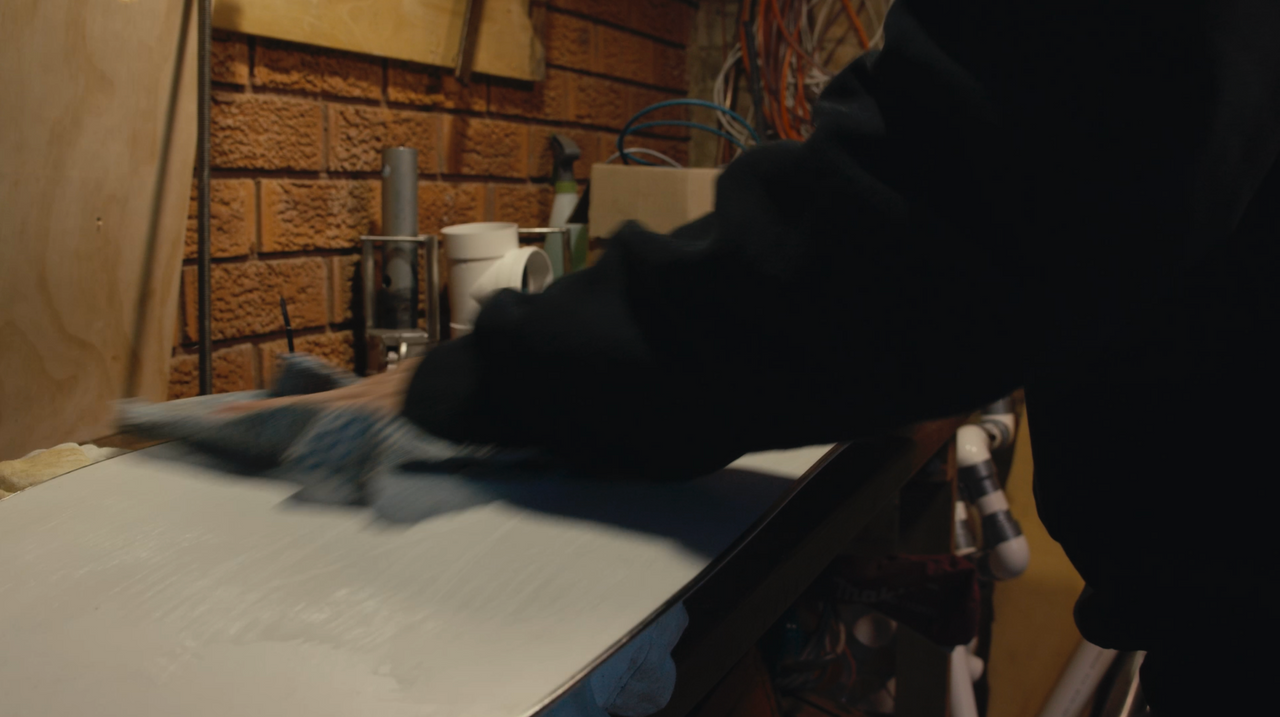
Make sure your board is clean and dry. Dirt prevents the wax from absorbing into the base, as it essentially blocks the pores within the structure of your base material. Thoroughly cleaning your base ensures the wax is best absorbed into the base, making it most effective for performance and longevity.
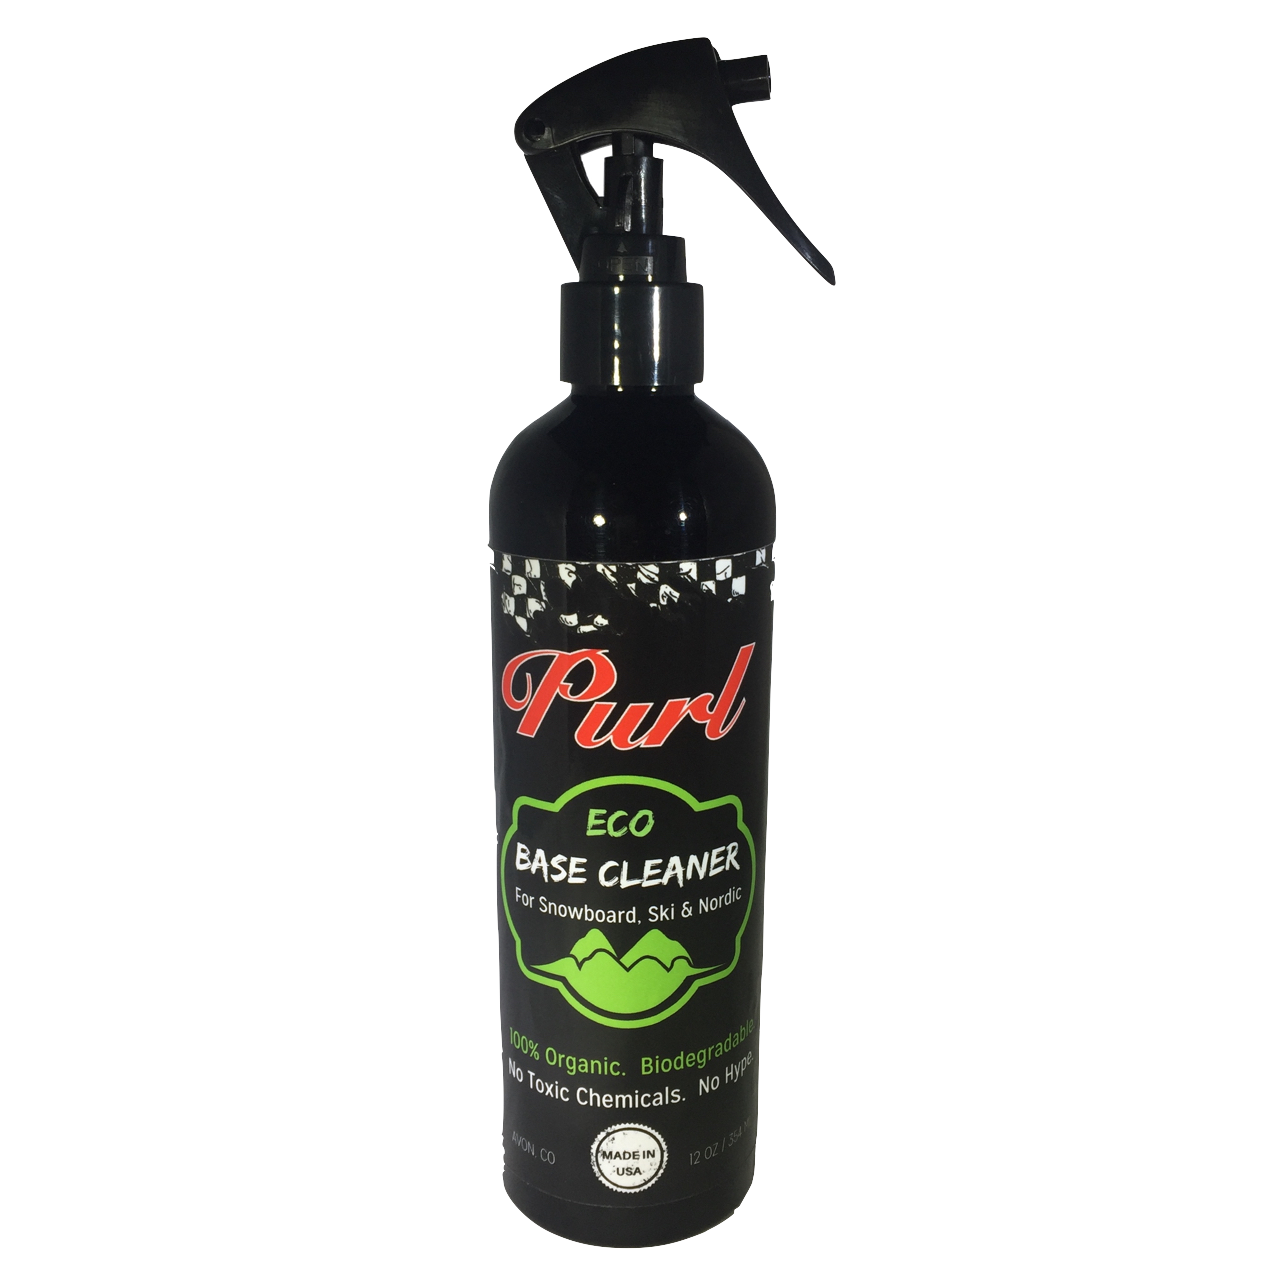
Ideally waxing your board before your first day of riding, or a few hours after riding somewhere warm and dry is best. This step is pretty simple... Spray some base cleaner on there and rub out as much dirt as you can with an old rag.
Tip: For an extra squeaky clean base, invest in a copper bristled brush. Brushing with a stiff brush like this before using base cleaner will remove even more dirt and impurities from your base.
Step 3:
Get the Iron Ready:
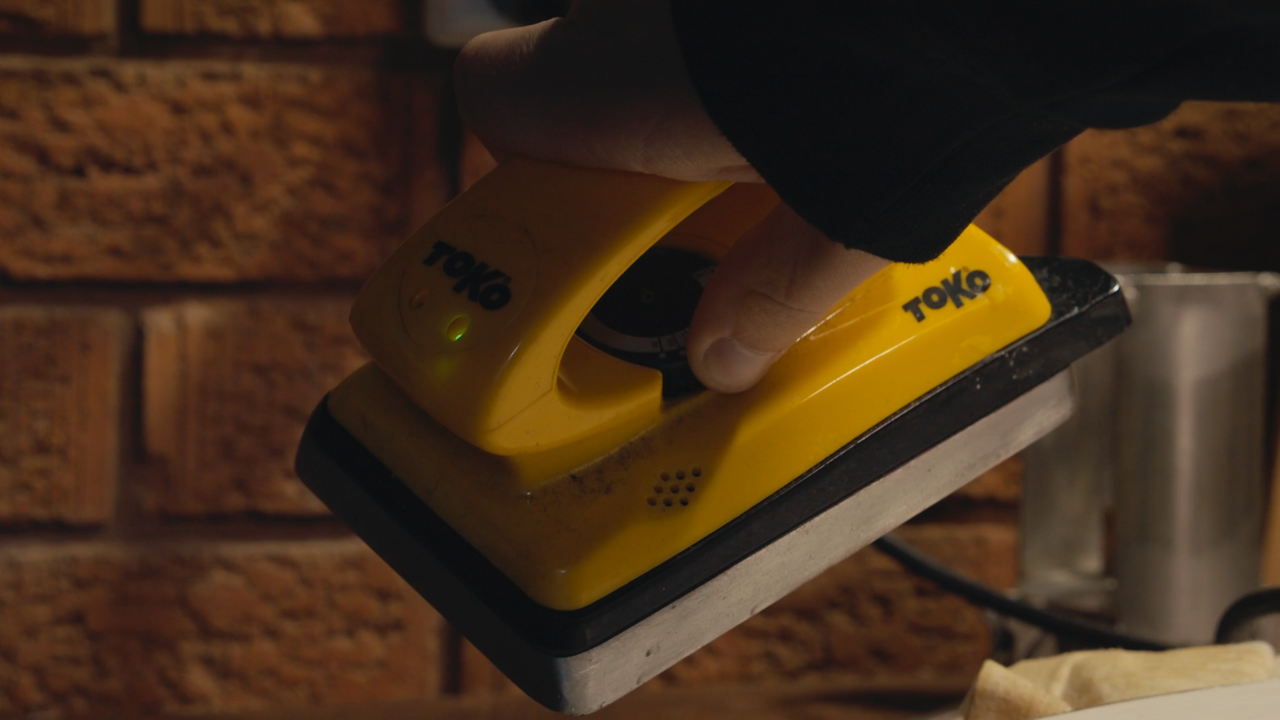
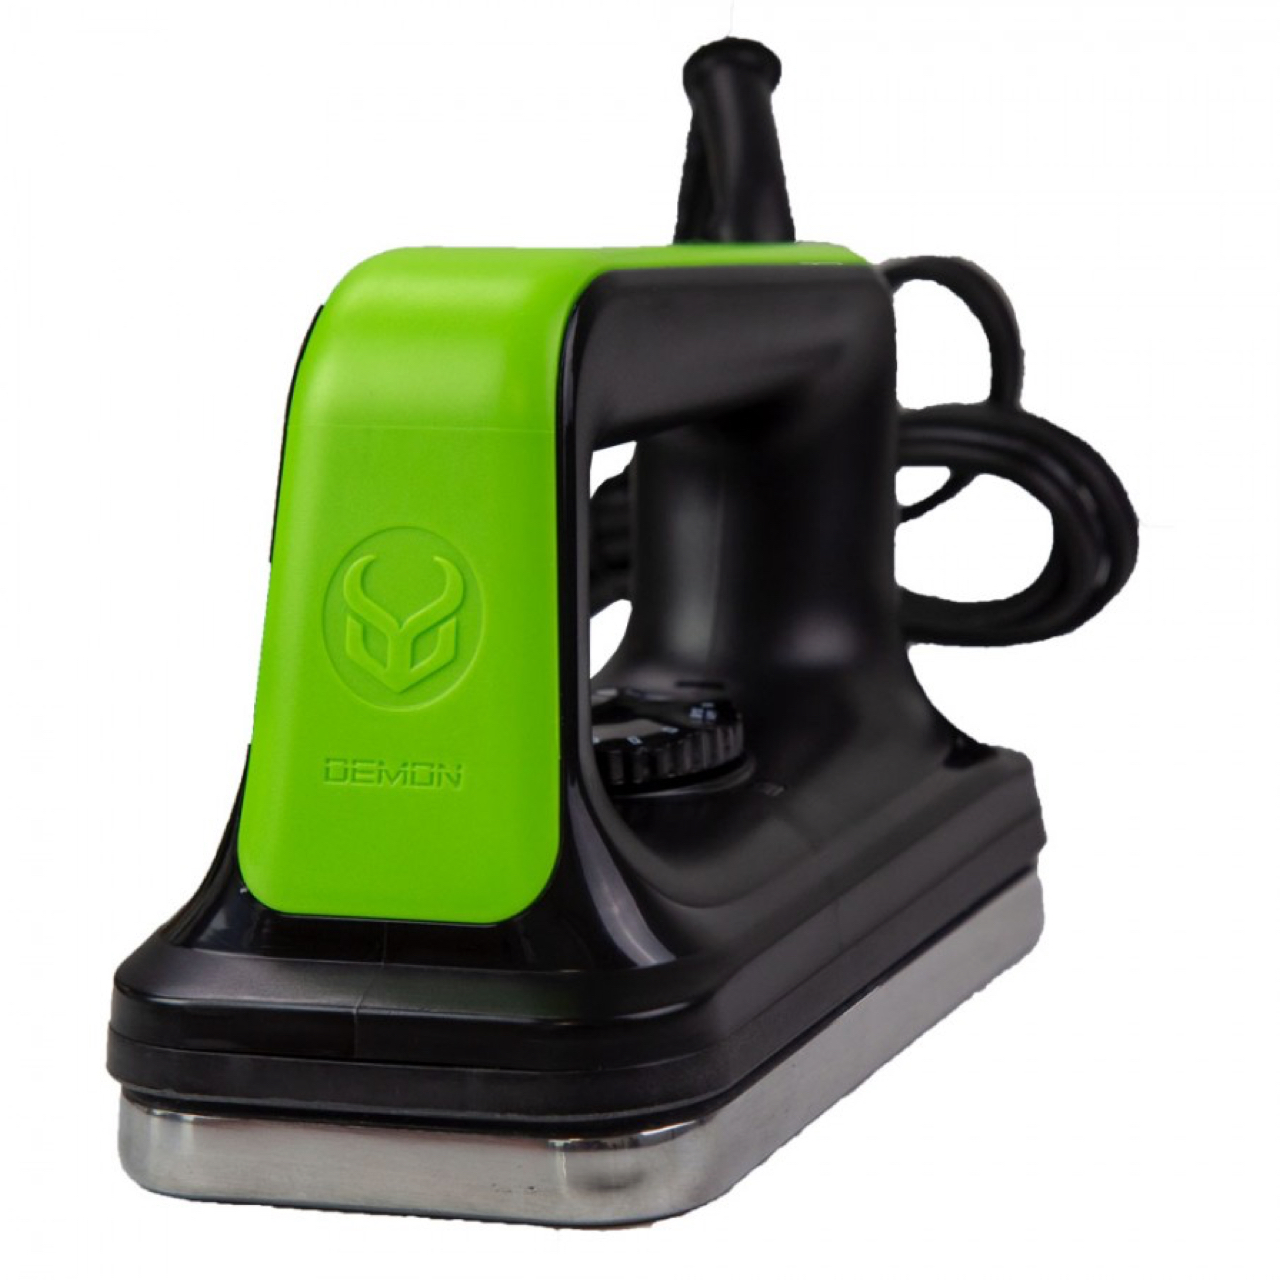
Heat up the iron to around 100-120C (for any good universal wax). If the wax starts to smoke, the iron is too hot.
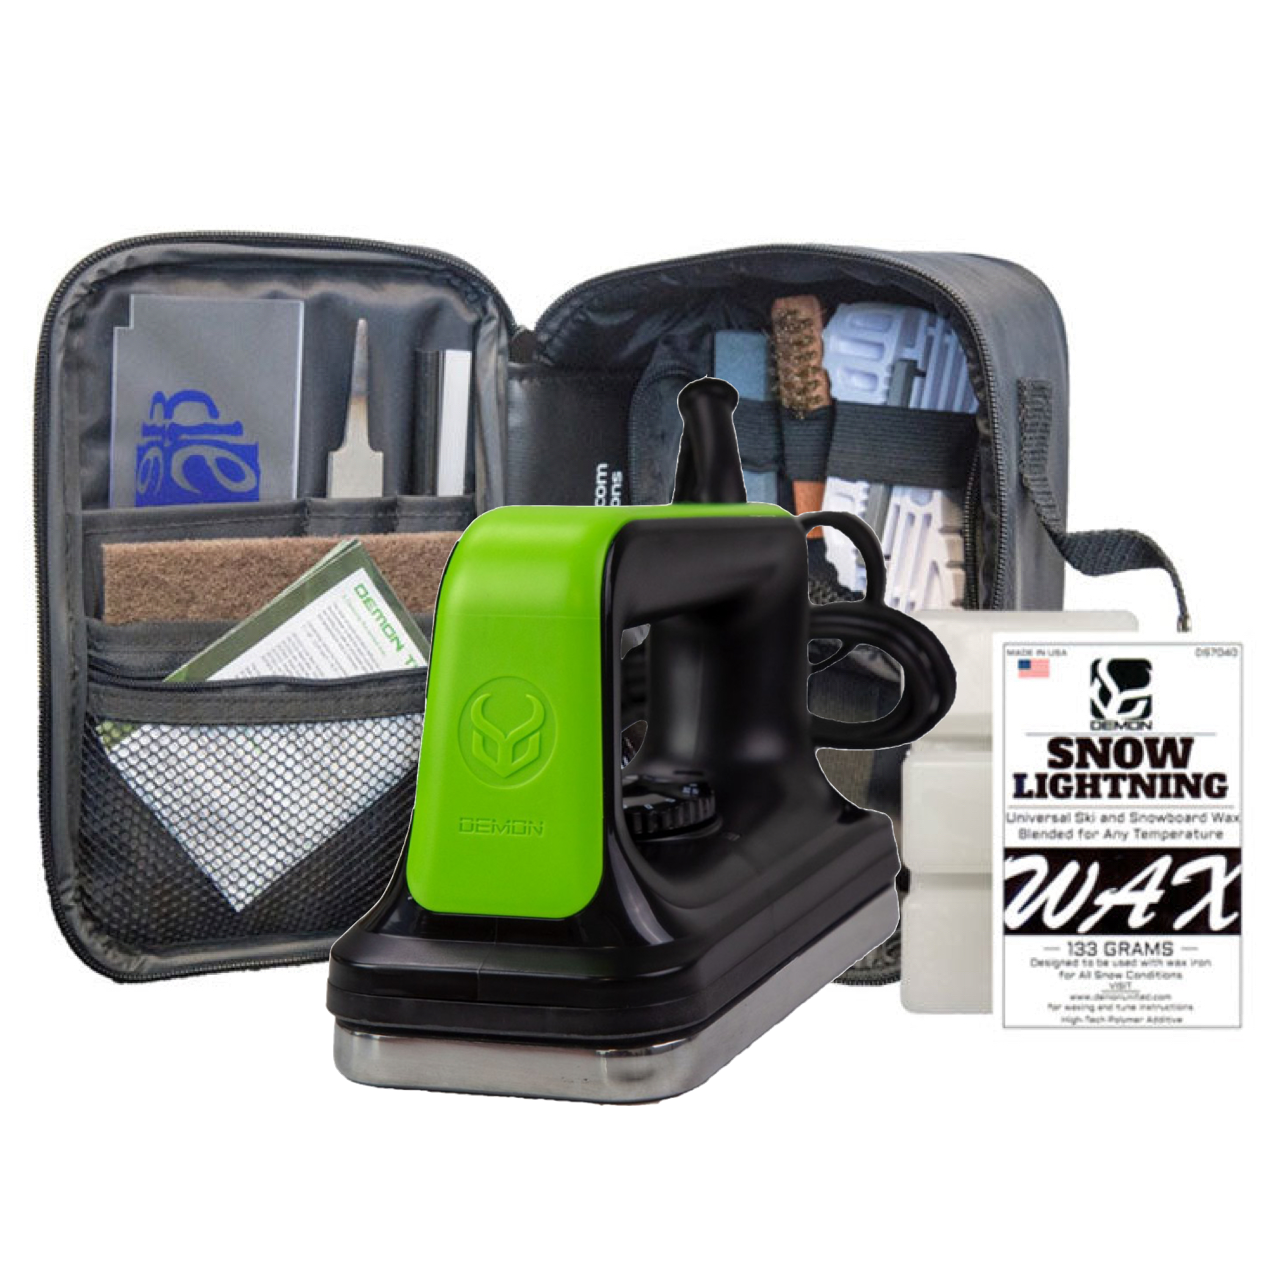
I would recommend using a snowboard/ski specific iron as it has the temperature settings on it, and also importantly has a specifically designed even flat surface to help distribute the wax evenly and efficiently. If it’s not in your budget, using an old iron is fine, provided you do not wish to use it on clothes again, and there is no water inside the steamer.
Once your iron is nice and toasty, run it over the base of your board a few times. This might be a little extra, but I always do it because I feel the warmer the base is, the more wax will be absorbed, and the faster I will go!
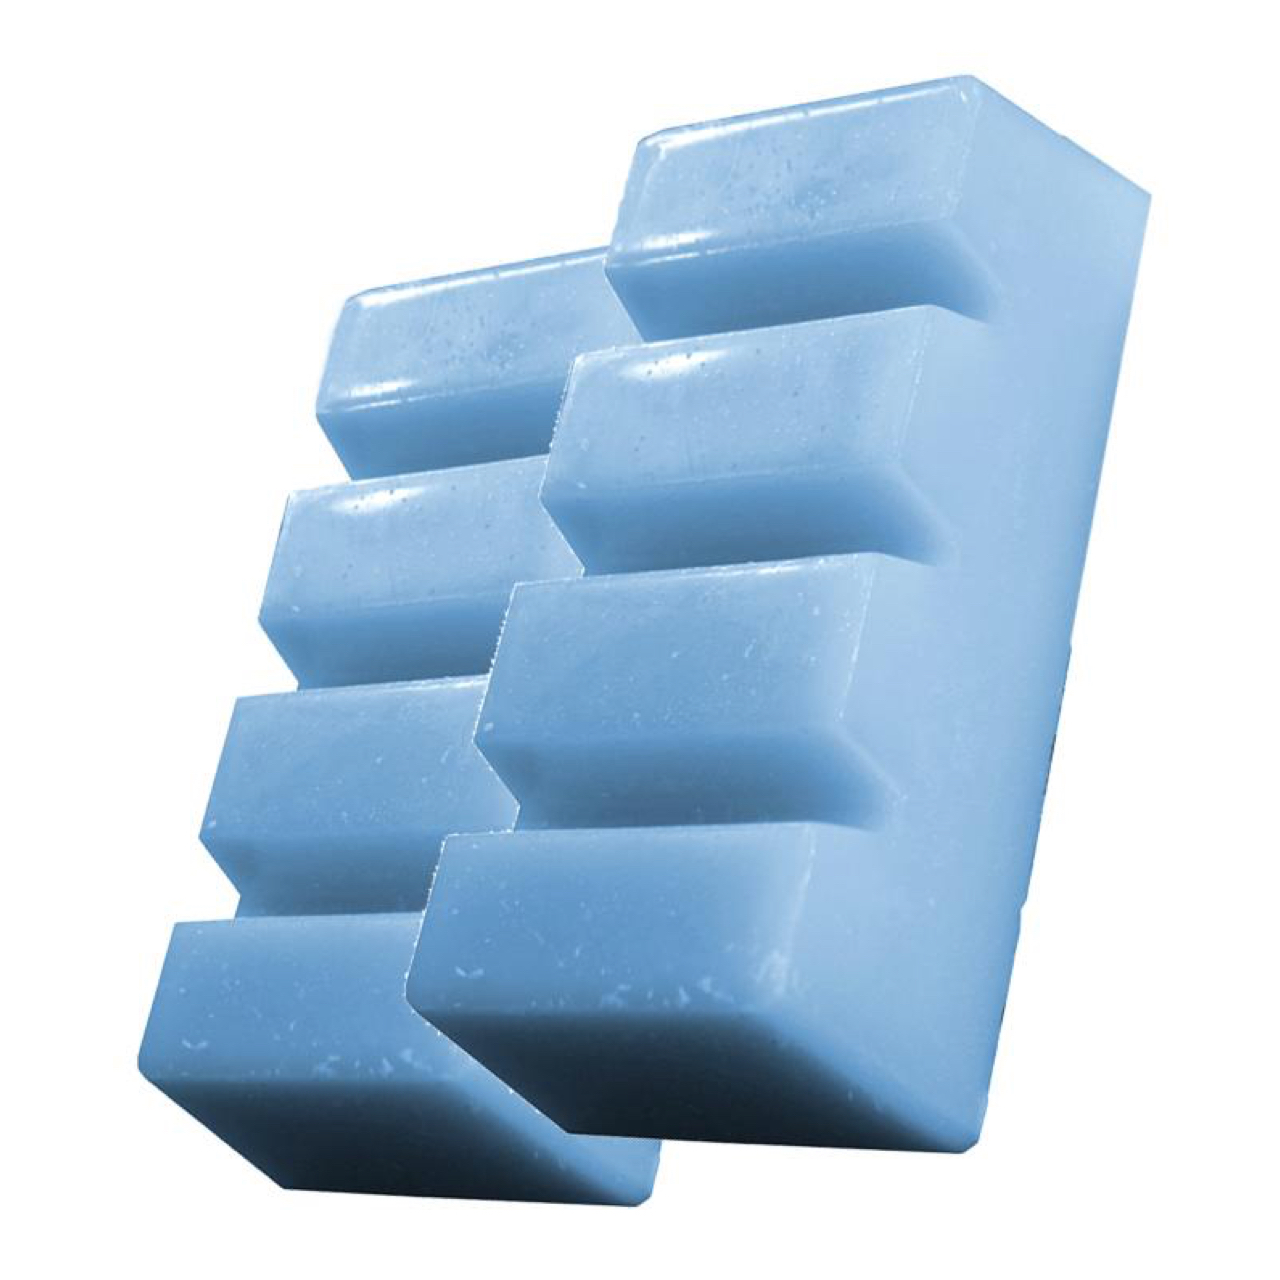
Especially for Aussie conditions, I would recommend starting out with a good universal (all-temperature) wax due to our variable weather conditions. These waxes are formulated for glide in any temperature and in all snow conditions and will work the whole way through our season. If you get more into wax tech, or you are travelling internationally you can always play around with more specific types of wax later.
Step 5:
Drip Your Wax:
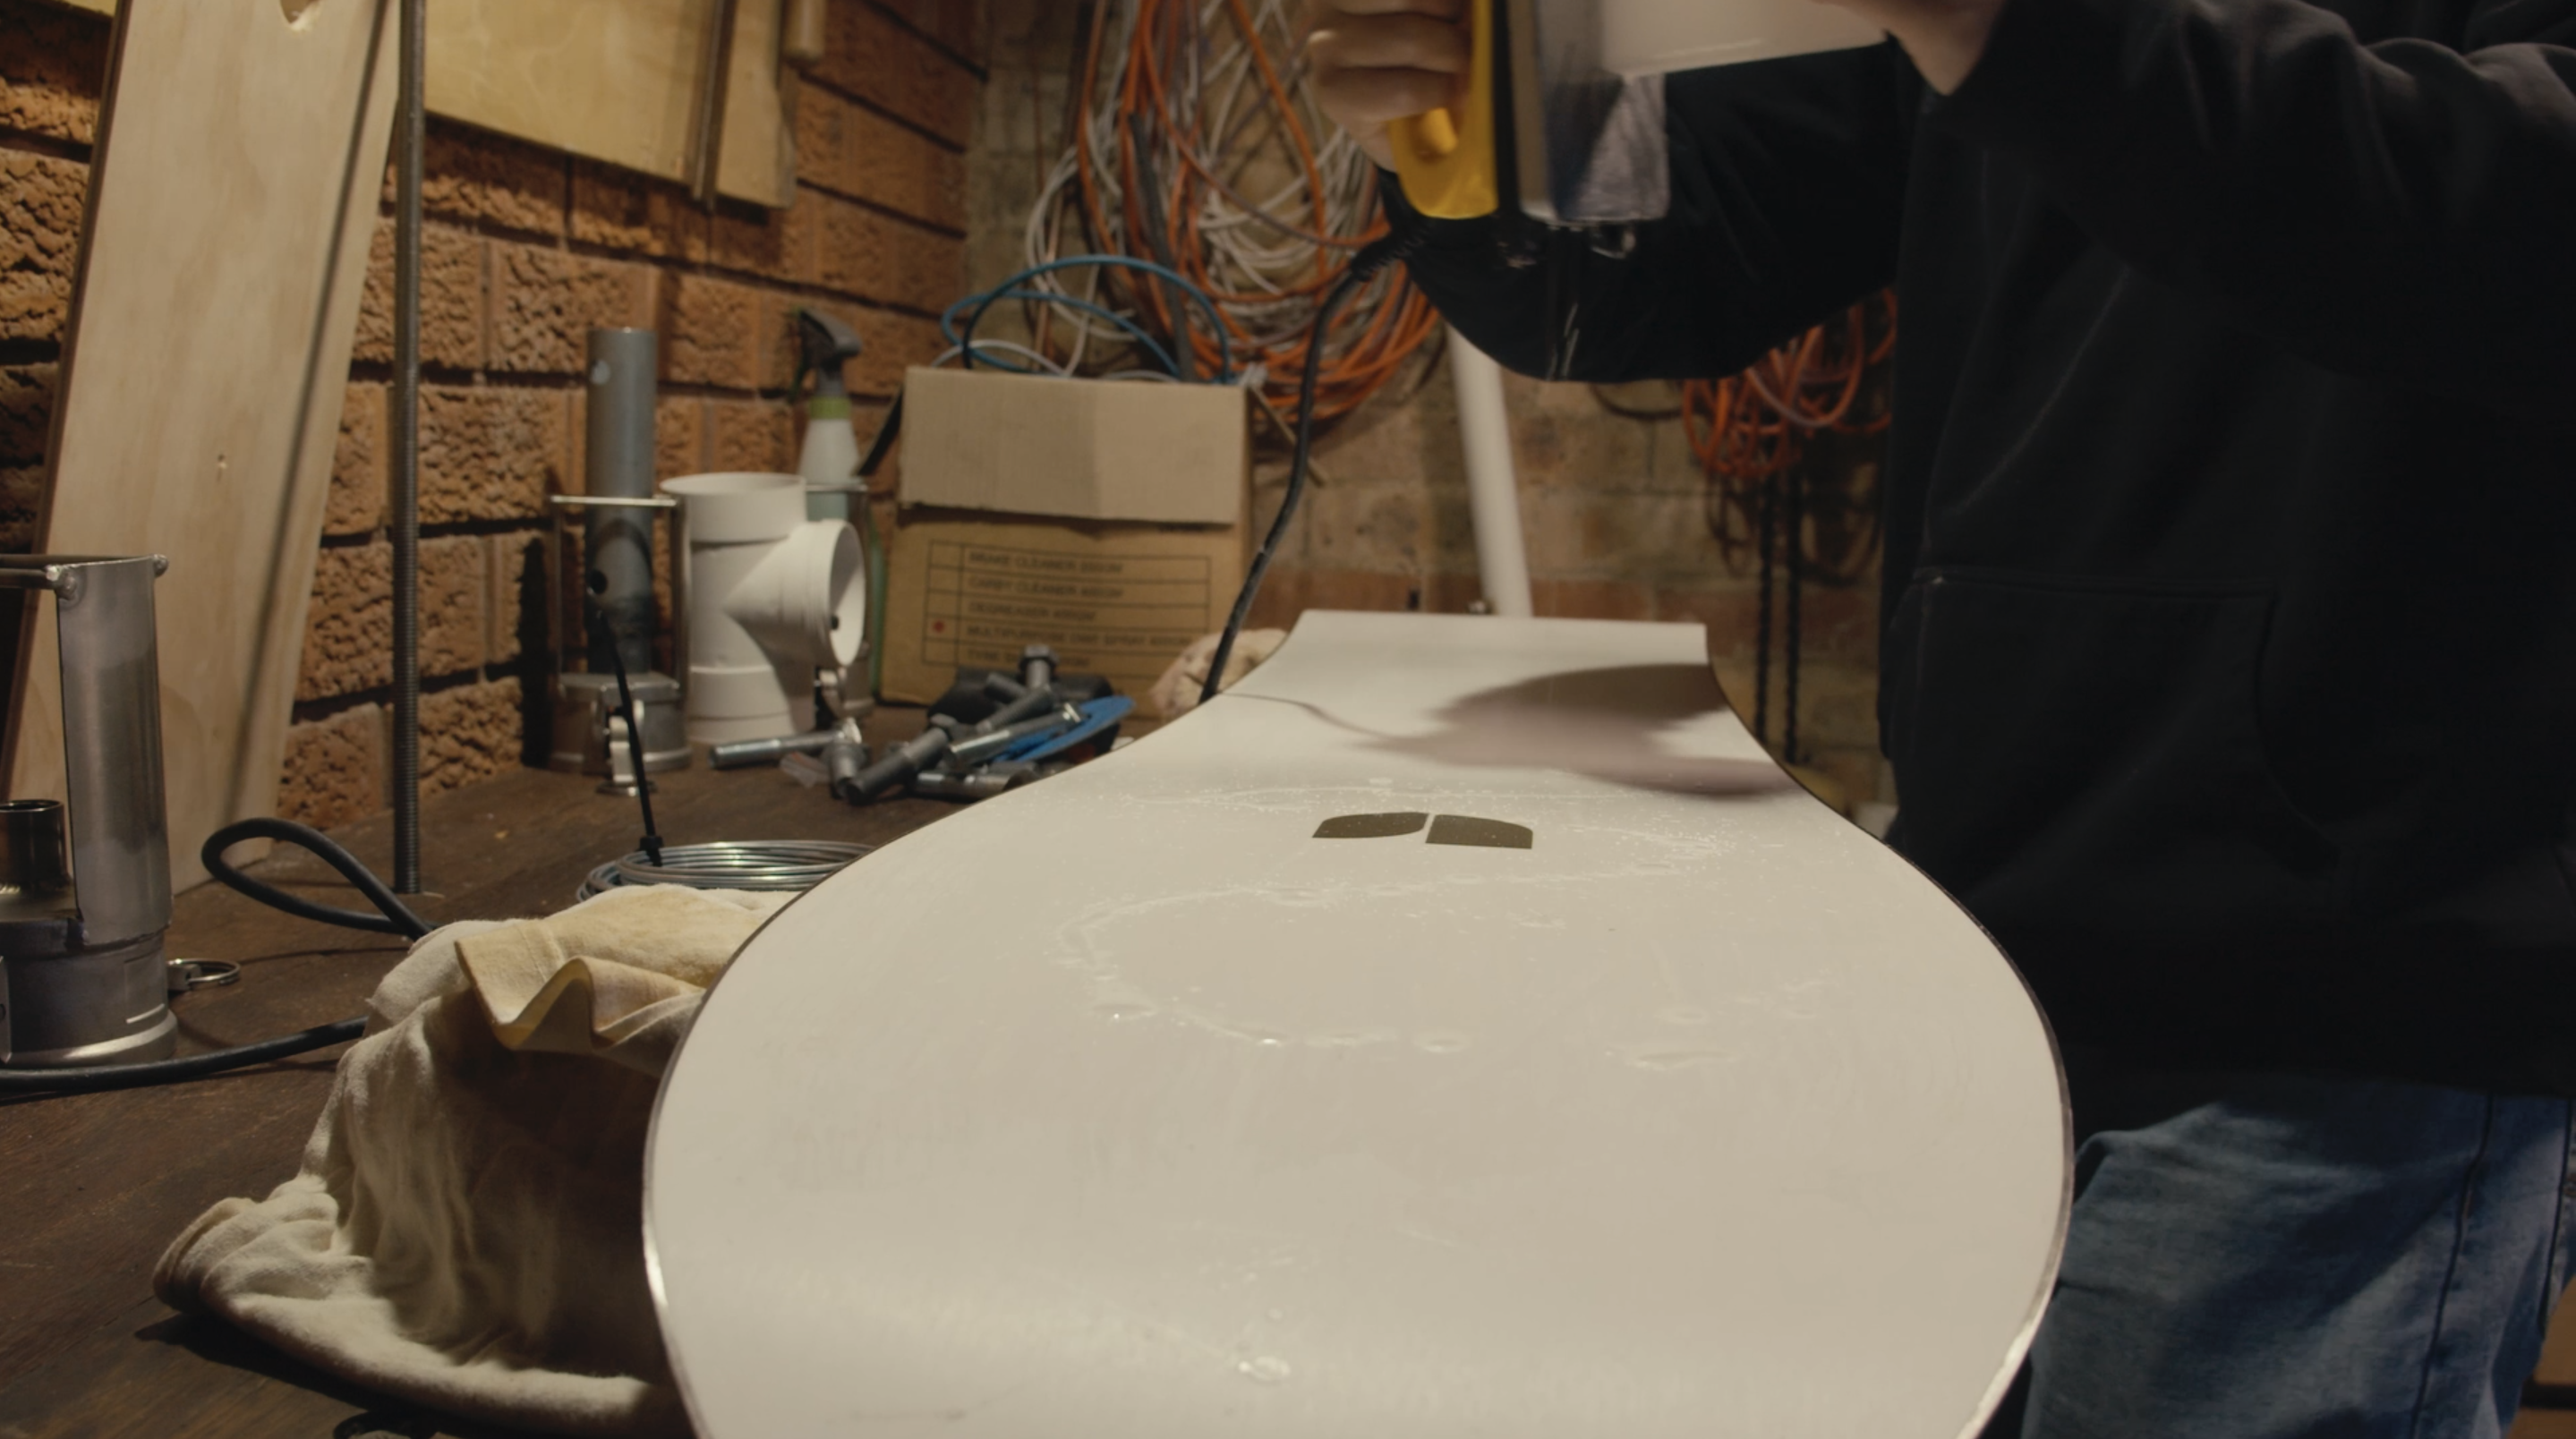
Now it’s time to put some wax on there. Start at the nose and hold the wax to the iron, so that it drips onto the board. I’d recommend holding the iron about 20-30cm above the board, as the drips will spread out wider and flatter, making it easy to spread around. Continue to drip wax evenly over the base, from tip to tail until you have a good covering, with drops spaced ~4-5cm from eachother.
Tip: Your aim should be to drip just enough wax to cover the base from nose to tail, using any more wax than necessary is not only a waste of wax, but also a waste of time as all you’ll be scraping it off later.
Step 6:
Spread Your Wax:
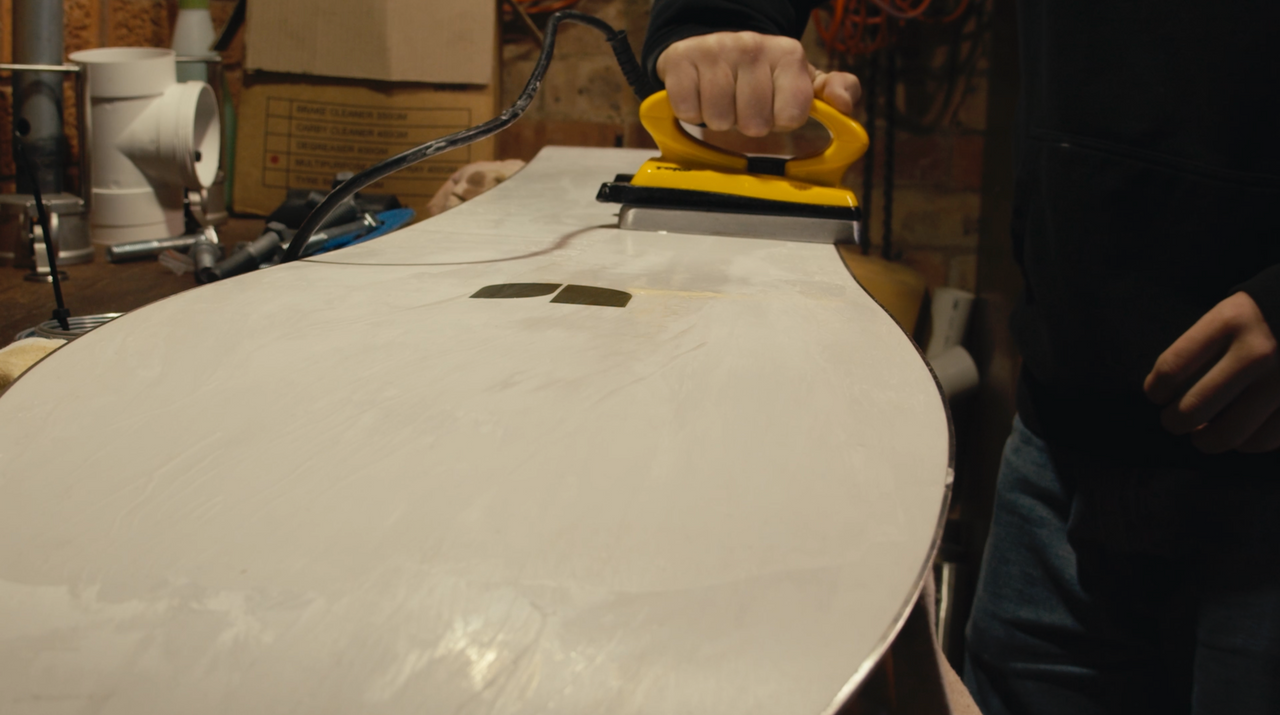
Place the iron to the board and spread the wax evenly across the entire base. Some like to work in straight lines and some like crazy circle work. Whichever method you choose, just make sure you work from tip to tail until you have achieved an even coat of melted wax.
Tip: Heat is very important for opening up the pores of the plastic, and allowing the wax to absorb into the base... However, remember not to leave the iron in one spot for too long, or it will damage the base. A nice slow, even pace is best.
Step 7:
Scrape Your Base:
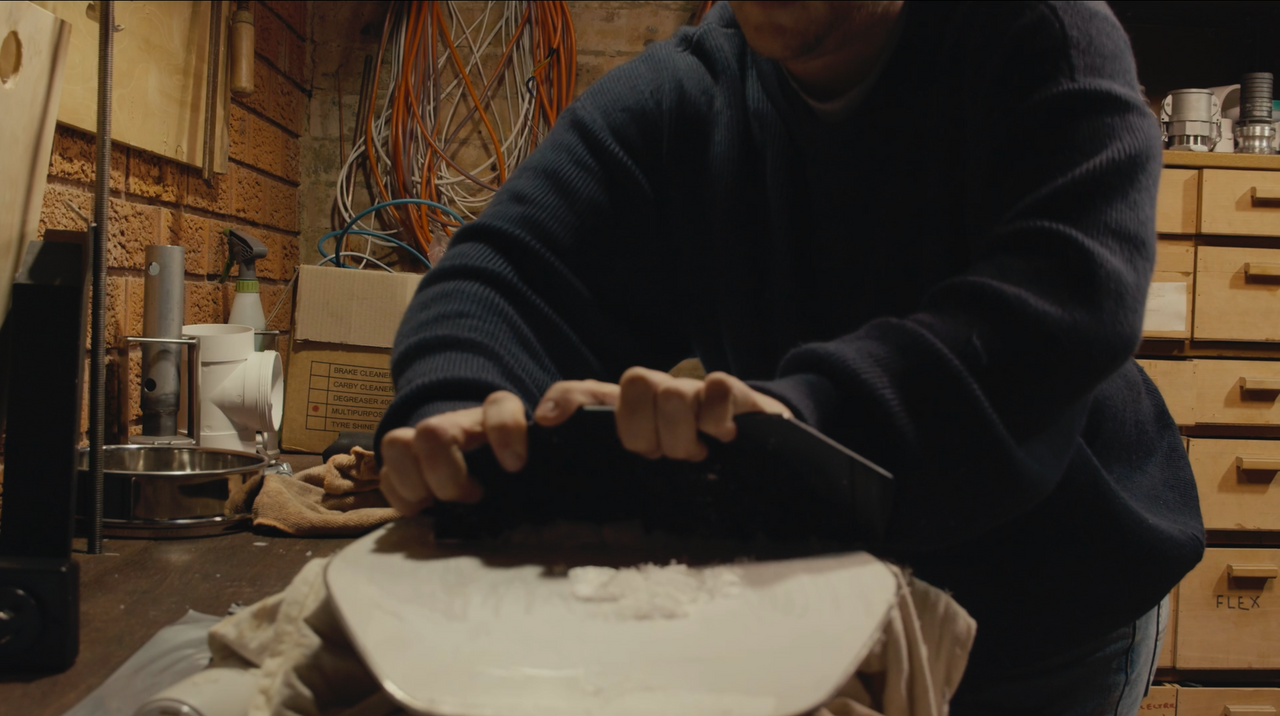
Ideally, I’ll leave the wax overnight, but if I’m pushed for time I’ll leave it for at least 30 minutes to give it time to absorb...
Now the wait’s over, get your scraper out and remove the excess wax by running it from nose to tail firmly at a 45-degree angle. Your aim here is to remove most if not all of the excess wax from the surface of the base of your board.
Tip: Some boards (especially those with hybrid camber) have little depressions that can make it hard to scrape. If you encounter this, turn your scraper on its end, and use the corner of the small side of the scraper to remove the wax from these hard to reach holes.
Step 8:
Brush Your Base:
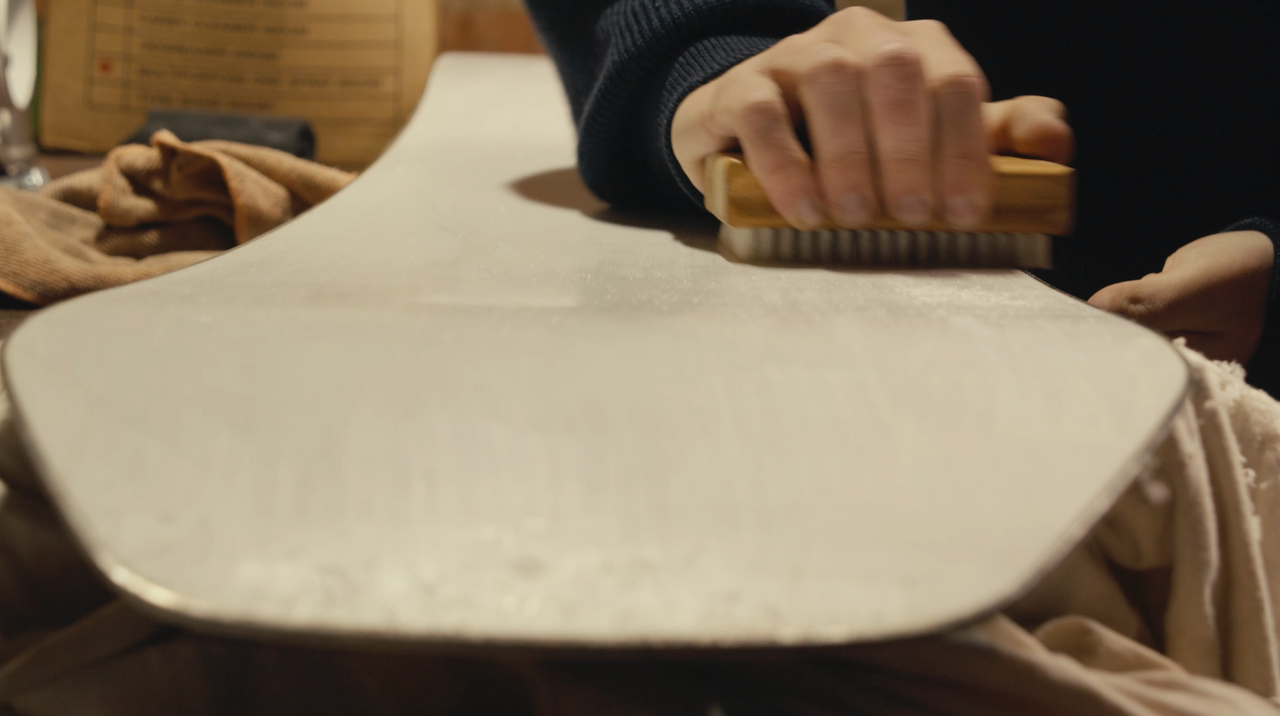
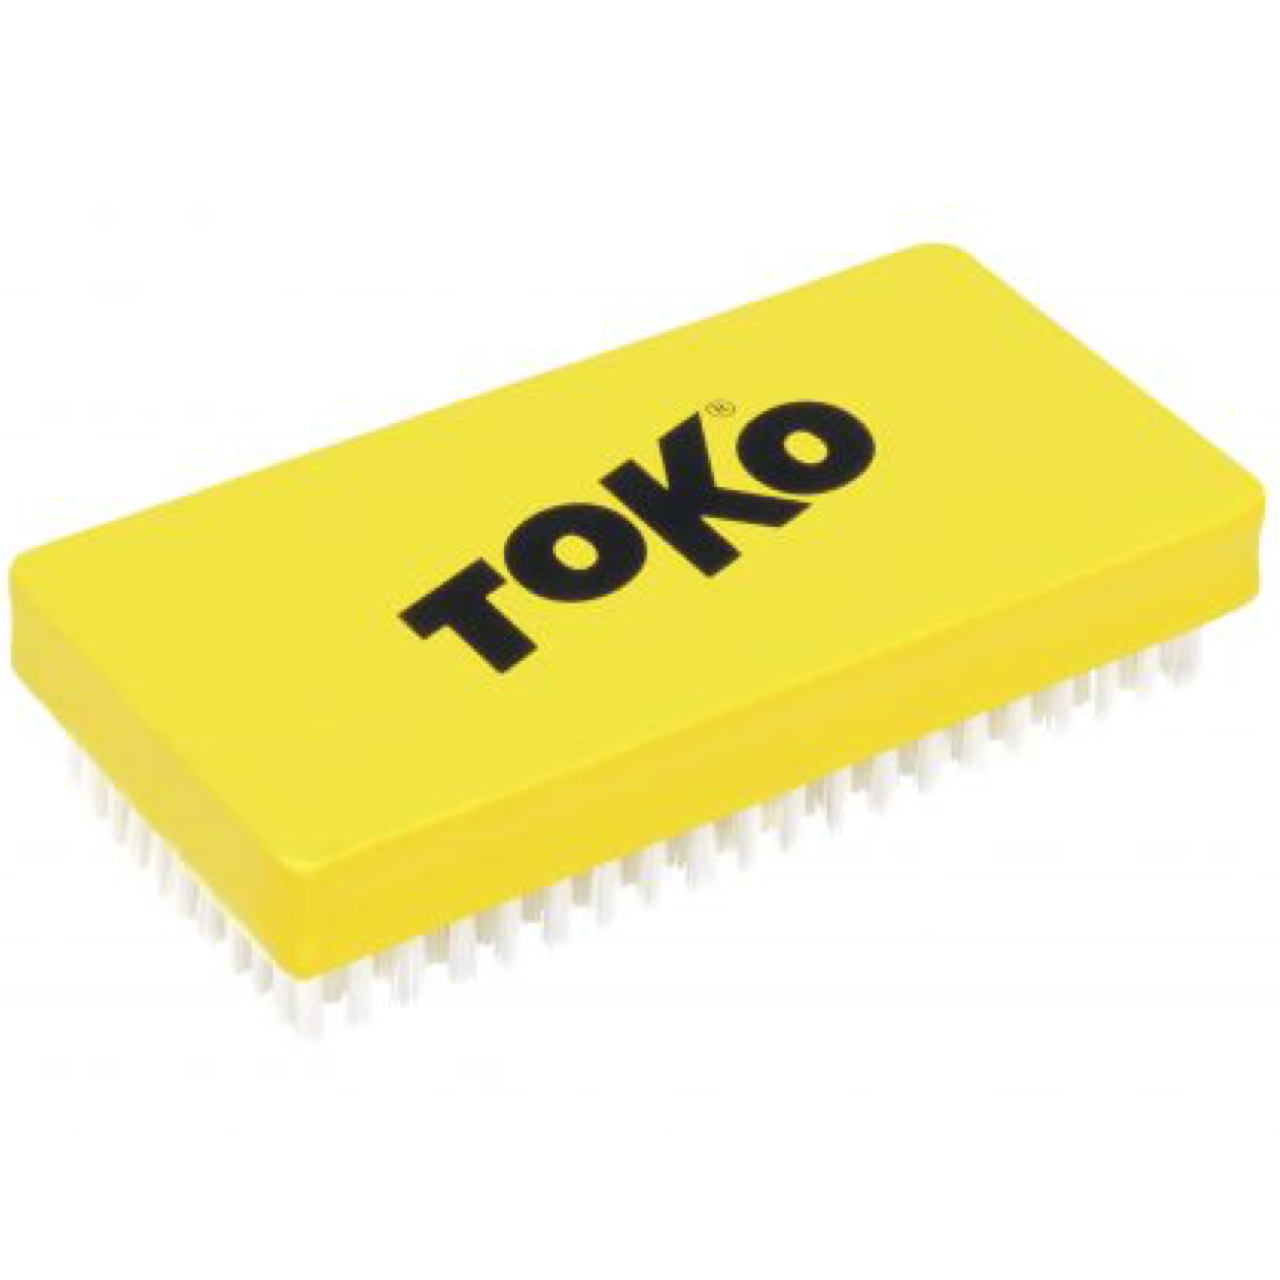
Now your board is flat and hopefully full of wax, get your finishing brush out and move again firmly from nose to tail to remove any excess wax and restore the structure of the base. If you’re in a jam and don’t have a brush with you, the green scourer side of a sponge will work too, with a little more effort…
Exposing your base structure ensures the moisture from the snow moves efficiently through your base helping to reduce static friction, making you ride even faster…The more you brush, the faster you’ll go!
Time to DIY...
That's all there is to it! While it might seem daunting if you've never ironed anything other than your favourite shirt before, it's actually quite easy, and the more you do it, the better you'll get, and the better your board is going to perform!
Need Supplies?
