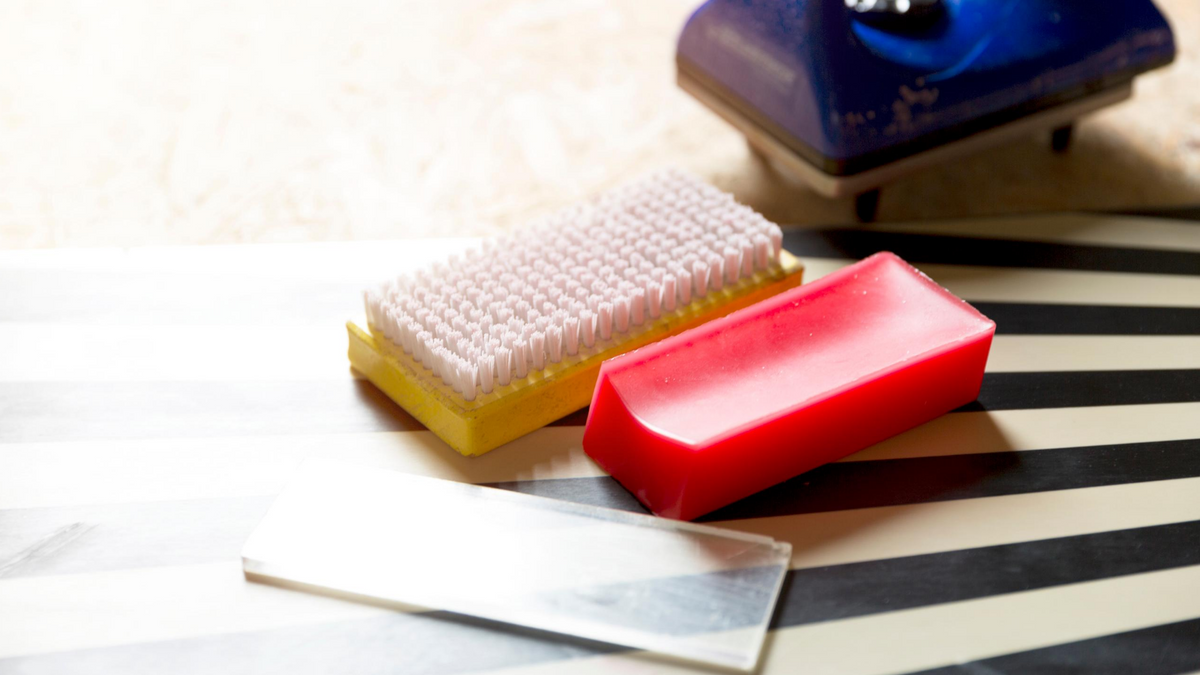
First up, yep we know... Most of these videos feature 2 plankers (skiers) demonstrating how to wax, edge & repair your equipment, and obviously we specialise in snowboards... However we don't discriminate, and these are simply the most thorough, and easy to understand wax & tuning videos out there. Toko know what they're talking about, and I only wanted to bring you the best of the best to guide you through the steps to becoming a master tuner.
I'm presenting these videos in the order of how you should always tune your equipment. It's worth noting too that you don't always need to do every part of the process... Simply assess what needs doing, and always work in order from the dirtiest job (eg, repair or edging), to cleanest job (waxing). A clean base prior to waxing, means more absorbtion, meaning faster runs with more glide!
So, here we go, grab a beer, grab your board out and learn by doing!
-
1. How to REPAIR scratches in your base
We've all been there... Pulled up short by a hidden rock and thrown into a tomahawk down the run, only to pop up, check your board and see a big nasty scratch in her. Before you take it into the shop for a wallet draining quote, have a go yourself with some p-tex & a steel scraper. It's easy peezy.
-
2. How to TUNE (sharpen) your edges
Edge tuning can be a bit stressful to get your head around. When I first started tuning, I was really confused about whether I needed to sharpen/set my base edge as well as my side edge, and also about what angle to use... Well, after many years of experience I can simplify it down to this for you: As a home tuner you should only ever sharpen your side edge and polish your base edge...
The only real reason for you to have to set a new base edge angle would be if you get a base grind (which brings your base edge back to flat), and hence needs to be re-set. Leave this one for a shop when you get a full tune, and concentrate on keeping your side edge sharp and clean! For recreational skiers/snowboarders the recommended edge angle is 88deg. If you like it hard n' fast, and fancy a Euro Carve every now and then, you could try 87deg. Best tools for the job, the Toko Edge Tuner or for a simple 2 angle tool that features an 88deg angle, the Demon Edge Tool. Don't forget a handy ceramic stone for de-tuning (dulling) the contact points and minor rust removal.
-
3. How to CLEAN your base
There's 2 ways to clean your base before waxing... 1. Brush the sh!# out of it with a copper brush (this is actually the best way), or 2. Use a light application of a base cleaner, wait a couple minutes and then wipe off with a rag. I know most people don't have the time to brush their base over and over before waxing, so here's method #2, cleaning your base with base cleaner:
-
4. How to WAX your board
Ok here we go, waxing time :) If you only ever learn one DIY shred maintenance process, learn waxing. It's what needs doing the most, will save you lots of dosh, and it's actually fun, and a cheap form of meditation ;) In terms of what wax to use? Well if you ride in Australia mostly go for a universal all-temp wax. It will cover you for all conditions from slushy to ice biscuits. Heading overseas? Try a cold wax, a harder blend made to withstand the intense friction of super cold snow crystals.
-
5. How to SCRAPE and BRUSH your board
The more you brush, the faster you go. Just think of it as 'arm day'. For best results post scraping, use a Nylon Brush first and then a Horsehair Brush. The Demon Brush Kit gives you all 3 brushes (Brass for pre-wax cleaning, Nylon & Horsehair for post-scrape finishing), plus it has a couple bonus extras. Who doesn't love extras.
-
There you go! It's not everything that you can do to care for and maintain your snowboard or skis at home, but it's a pretty dang good start. If you want to get started and need the DIY gear, check out our CARE category. It has all the DIY wax, tools & repair materials to keep your stick in tip top shape.
Happy waxing!!

